Create and apply image style
You need to create at least 1 image style first, then apply it to your product images.
From the Styles page, click Add style. Enter a Title, then set up the style in three tabs: Effects, Apply conditions and Preview. Click Save when you're done.
You can switch between tabs before saving, your changes are kept.
Effects
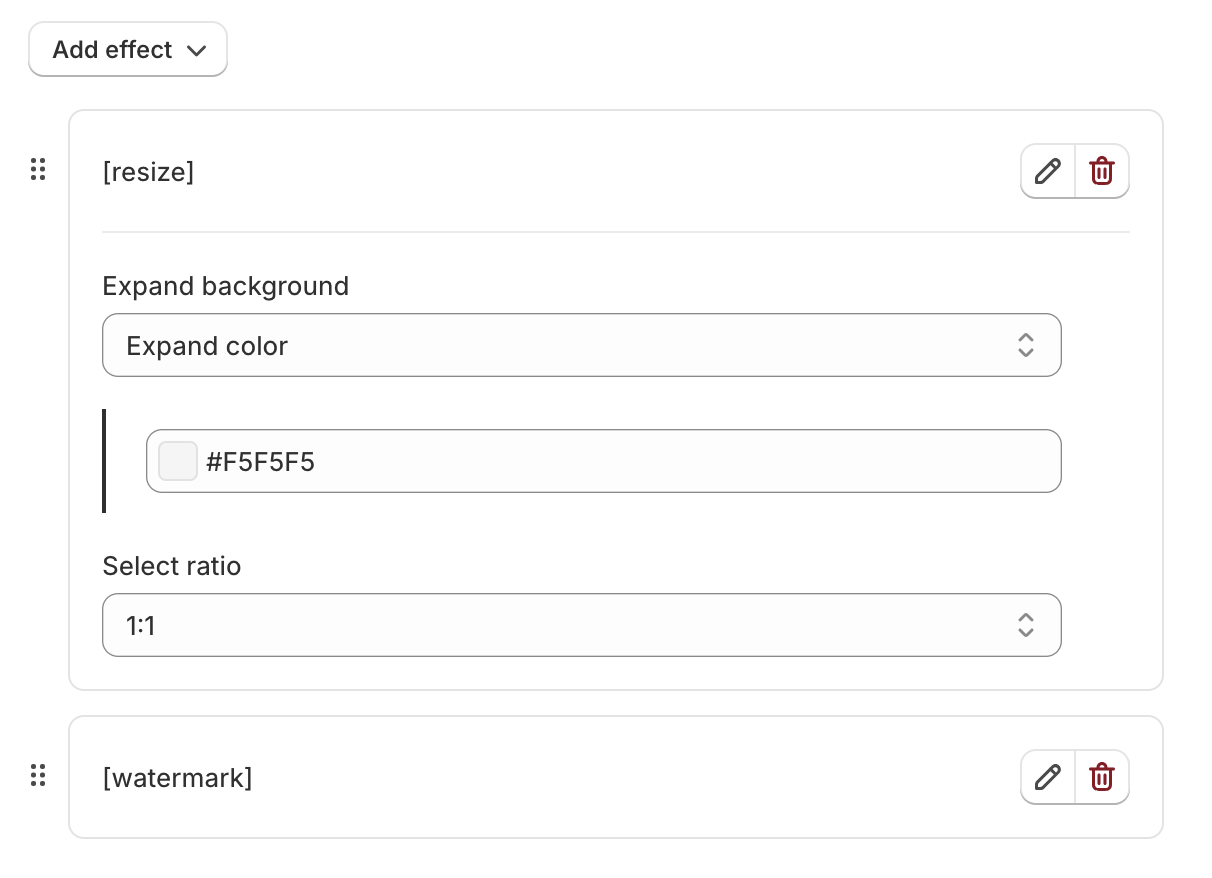
Click Add effect and choose an effect. You can add several effects to one style. They run from top to bottom, drag an effect to change the order. Click the edit icon to open an effect's settings, or the delete icon to remove it.
| Effect | Settings |
|---|---|
| Resize | Select ratio: 1:1, 2:3, 3:2, 3:4, 4:3, 9:16, 16:9 or Custom (width and height in px). Expand background: fill the extra space with an Expand color or Blur image (a blurred copy of the photo, set the Blur percent). |
| Resize Width/Height | Resize by Width or Height in px. The other side keeps the photo's ratio. |
| Crop | Width and Height in px. |
| Rotate | Angle, and the background for the empty corners (color or blur). |
| Watermark | Upload a watermark image, then set Width, Set custom height (otherwise the height is calculated automatically), Repeat watermark, Position (9 positions, from Top left to Bottom right), Offset (Horizontal and Vertical in px) and Opacity. |
Watermark is only available on paid plans. See Plans.
Apply conditions
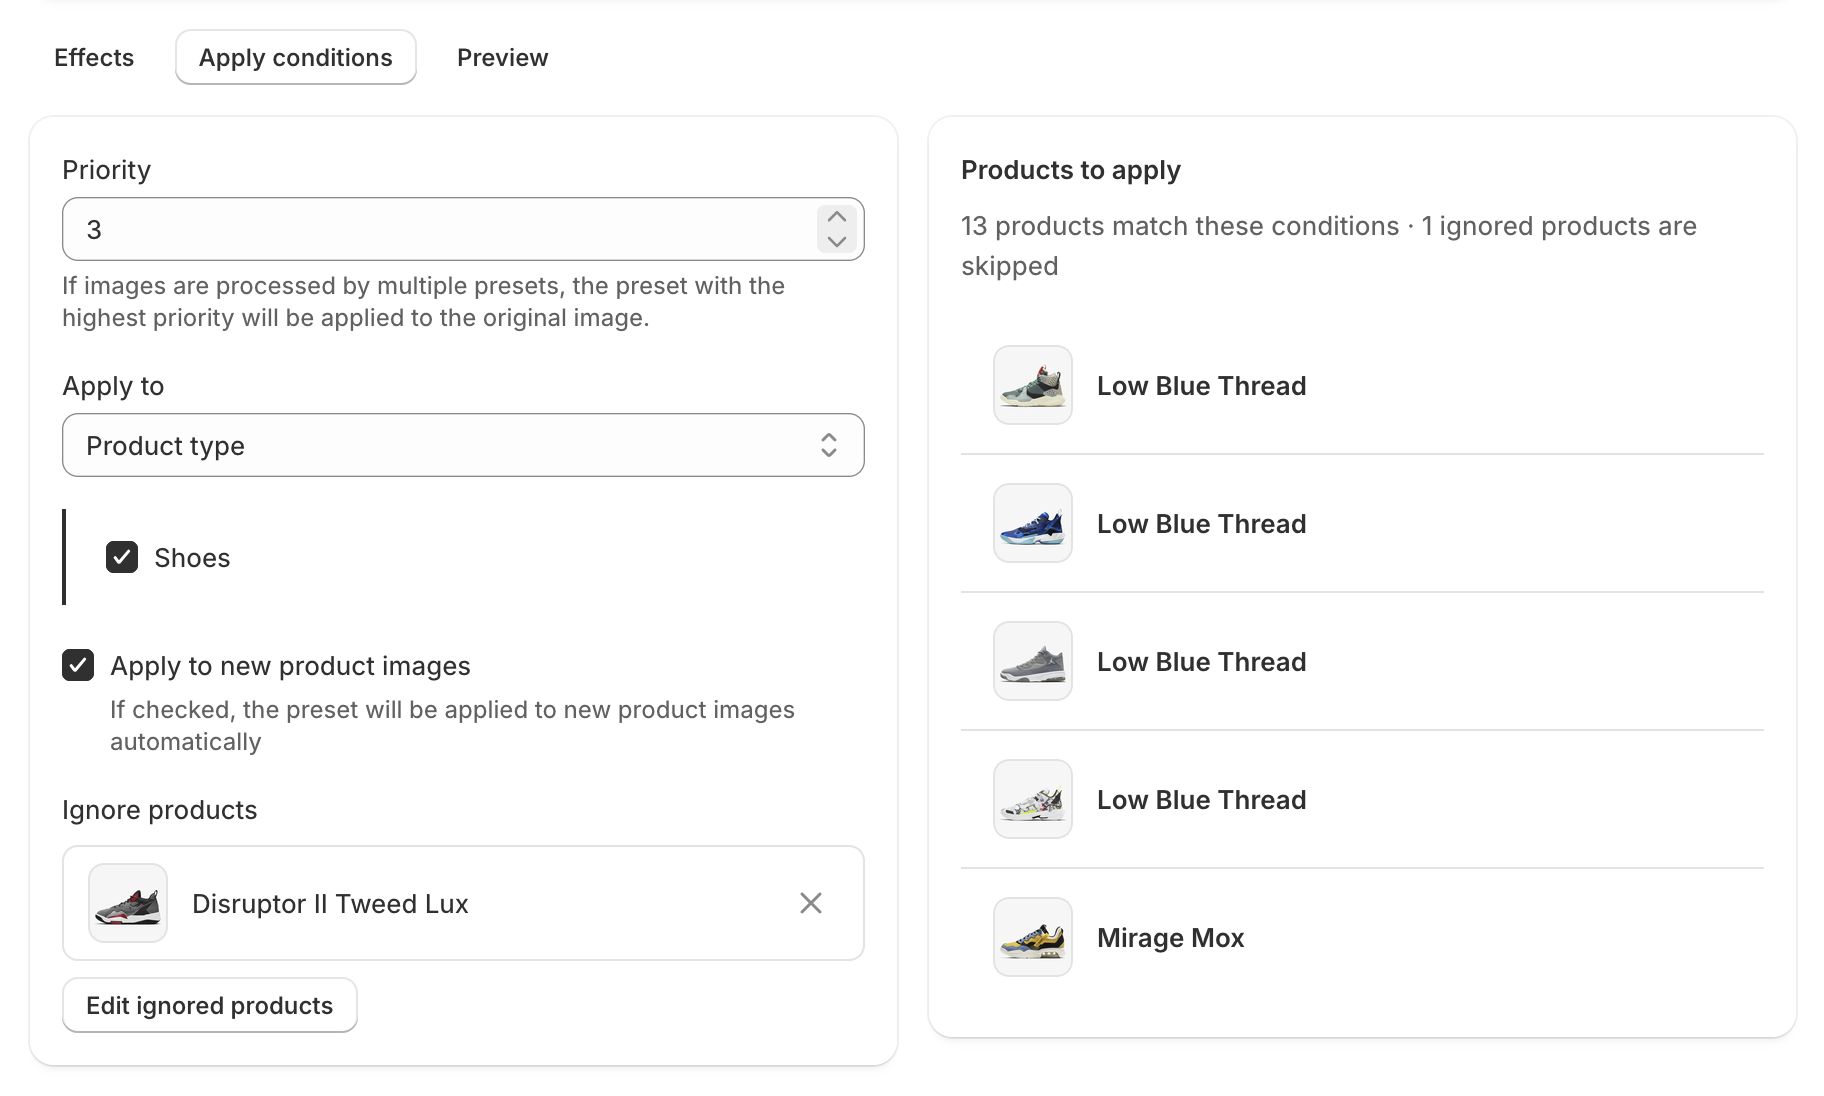
Choose what products the style applies to.
- Priority: If a product matches more than one style, the style with the highest priority is applied to the original image.
- Apply to: All products, Product vendor, Tagged with or Product type. Then tick the vendors, types or tags you want. For tags, you can also type tags separated by commas.
- Apply to new product images: When checked, the style is applied automatically to images added to matching products (paid plans).
- Ignore products: Click Select products to choose products the style must skip. They show as cards, click Edit ignored products to change the list (paid plans).
The Products to apply panel next to the form shows how many products match the current conditions and lists them, ignored products are left out. Click Load more to see more products. You don't need to save first, the list follows your changes.
If you choose Product vendor, Tagged with or Product type but don't select any value, the style applies to all products. A warning shows in the Products to apply panel.
Preview
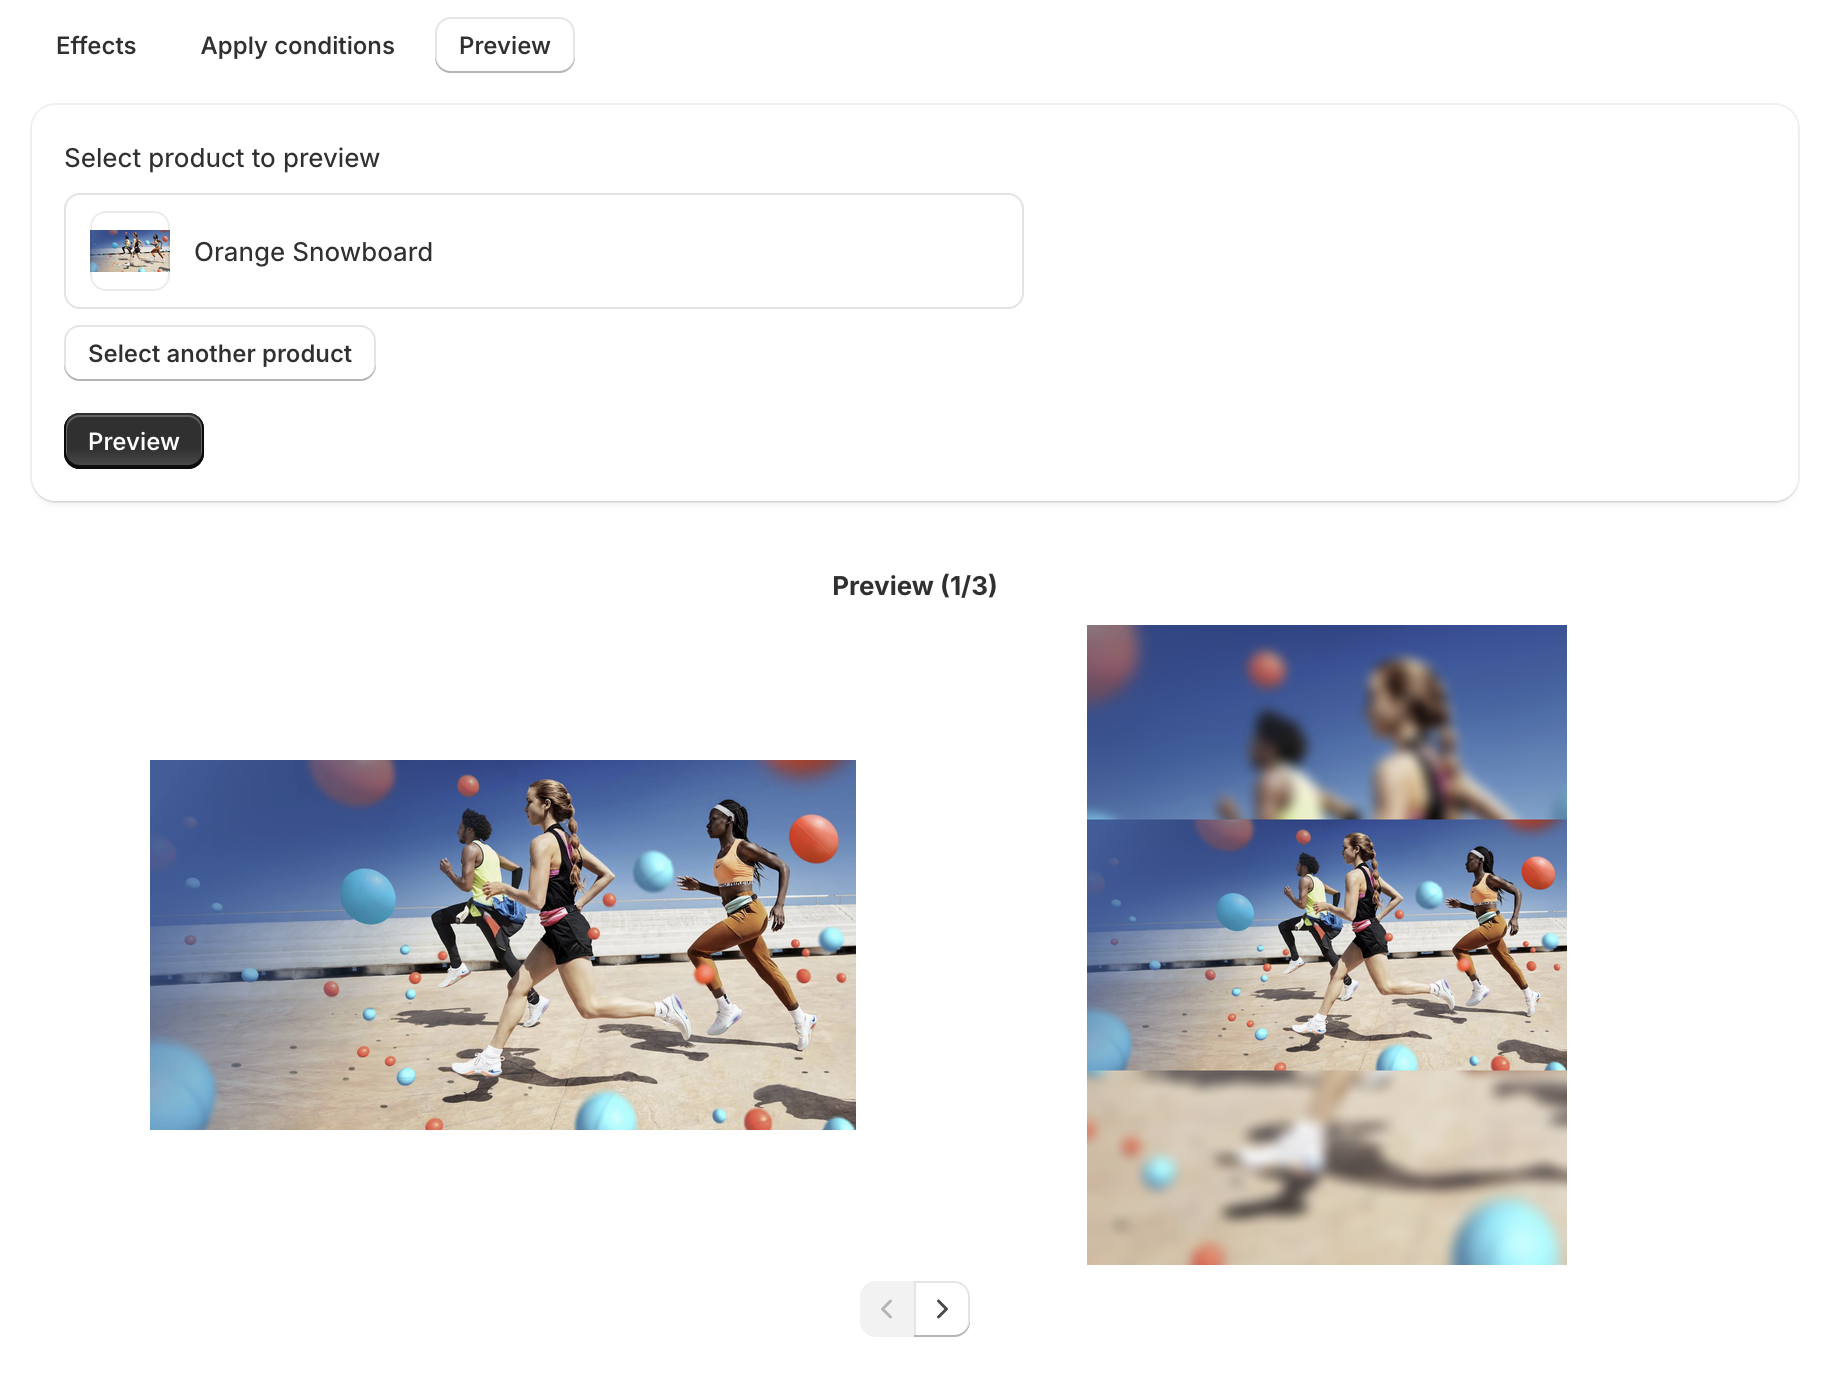
Click Select product and choose a product, then click Preview. You see the original image and the processed image side by side. Use the arrows to go through all images of the product.
Preview does not change your product images.
Apply image style
After saving, you are redirected to the Styles page. You can apply a style in two ways:
- Process: applies the style to every product that matches its conditions. Confirm in the popup.
- Apply to product: choose one product and apply the style to that product only.
While the style is running, a progress banner shows the current stage and how many images are done. See Track progress and retry failed images.
This might take a long time to process, depending on how many images. You can close the app while it runs. If more than 30 images are processed, you will get an email notification after it finishes.